Creating a new requirement
To create a new requirement, go to “Project | Requirement” from the main menu. In the opened window, click on the “Add” button to start creating a new requirement.
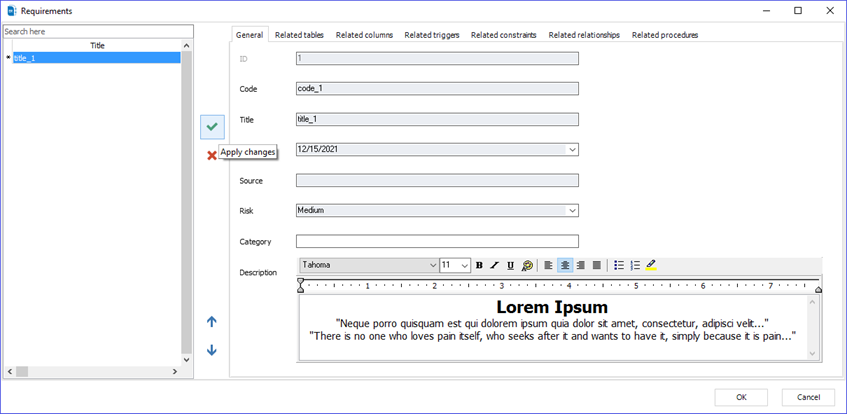
Fill in the following:
1. ID: filled automatically by ERBuilder Data Modeler
2. Code: enter a code for the new requirement
3. Title: enter a title for the new requirement
4. Date: pick a date for the requirement created
5. Source: fill in the source of your requirement
6. Risk: define the requirement risk level (Undefined, high, medium, low)
7. Category: assign a category for the requirement
8. Description: describe the new requirement
Click the “Apply” button to save your entries, then click on “OK”.
|
Available in: Enterprise Edition |