Getting started
This topic provides an overview of how to use SB Data Generator to generate test data.
We recommend you to back up your database that you are going to populate before you generate the test data, so you can repeat the data generation if you are not satisfied with the results.
- To generate data, first create a new project by selecting the connection to the database you want to reverse and populate with data.
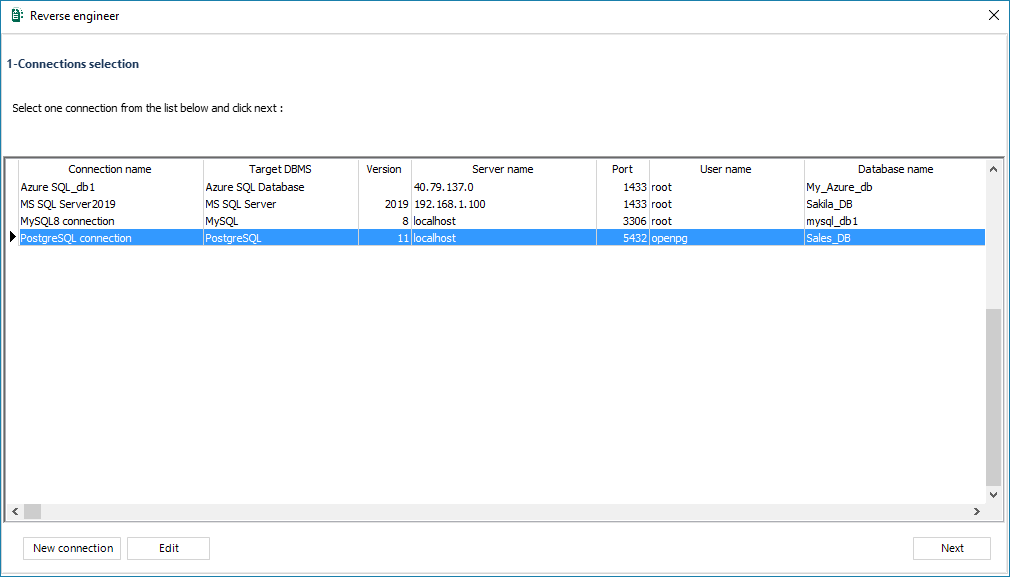
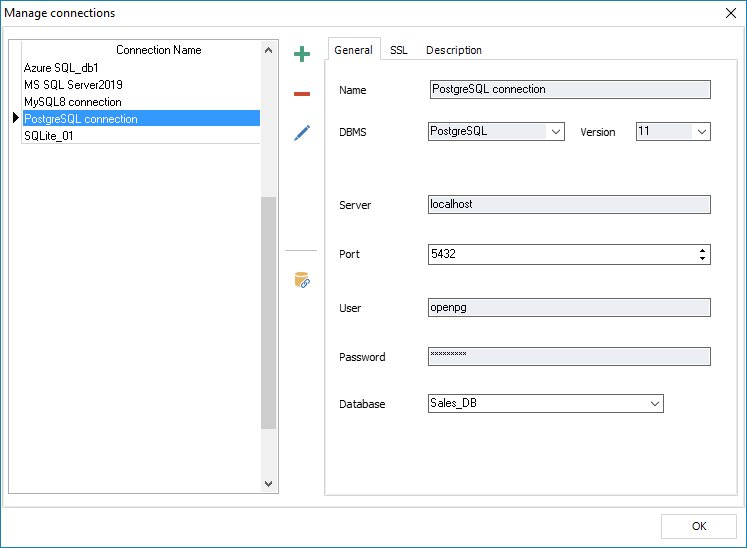
- You can create a new database connection on the new project window. You can also edit or delete an existing connection. Read the section “How to manage connections”.
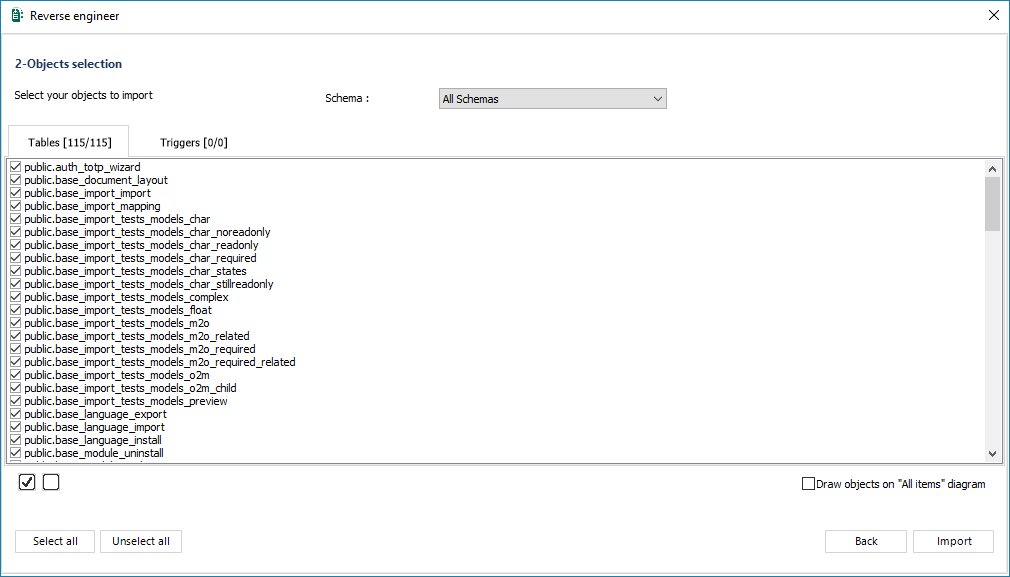
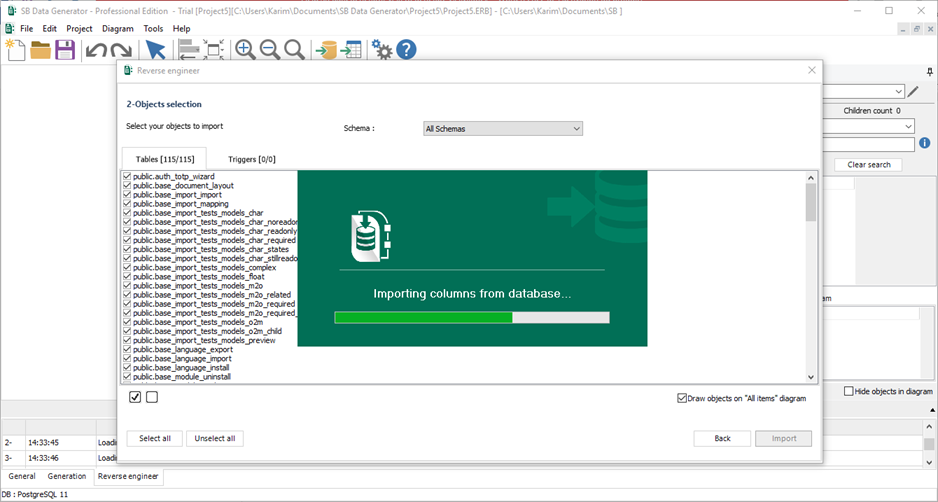
- In the next step, select the tables and triggers to be imported, and then click on “Import”.
With the option “Draw All Items Diagram”, you can choose to draw the diagram “all items” after reverse engineering the database or get only the list of the tables selected above without the diagram. By default, this option is checked.
- Tables and relationships are positioned on the “All items” diagram.
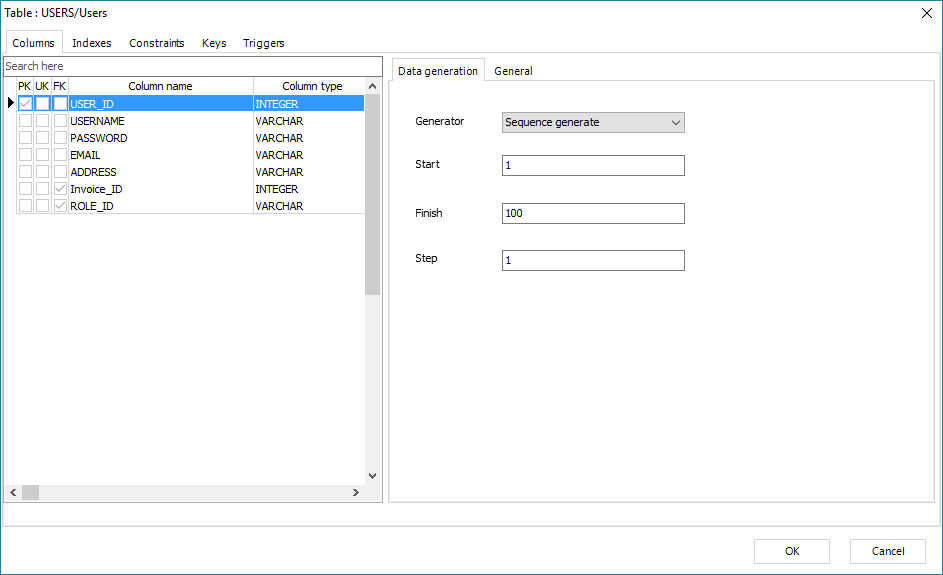
- To assign a data generator template to a column, double-click on this column from the treeview or double click on its table graphic representation. This will open the table settings window. Select a generator from the multiples data generators templates available.
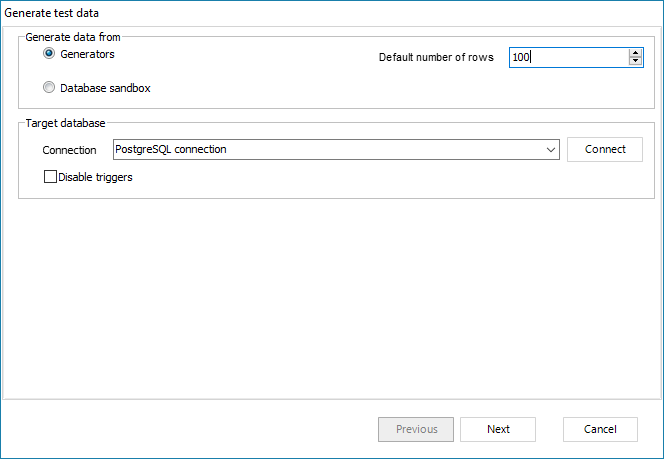
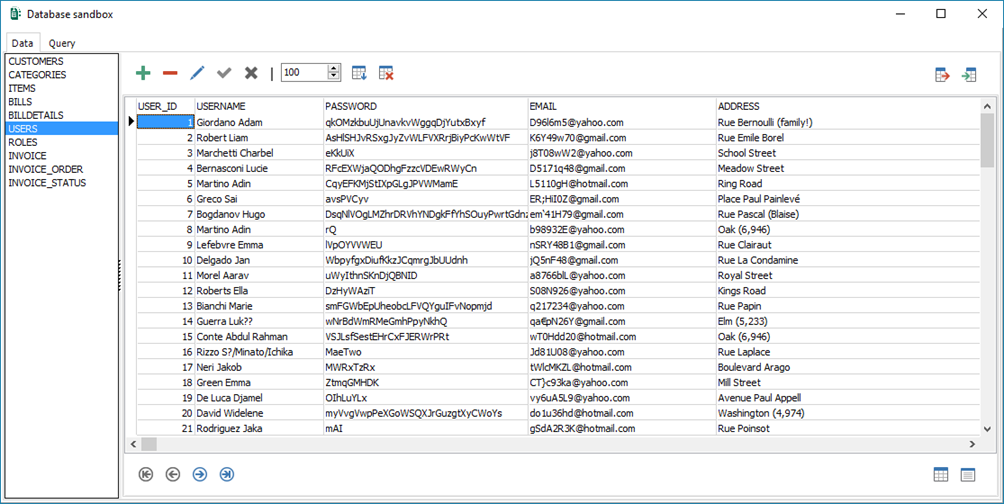
- Before inserting data to the live database, you can generate a preview of the data that will be inserted. You can also manipulate these data by using the query tool. To use the database sandbox Go to “Tools | Database sandbox”
- To start populating your database with test data go to “Tools | Generate test data”. You have the choice to generate test data from the virtual data or directly from assigned data generators templates.