Validate a data model by generating a web user interface
August 18th, 2020,
ERBuilder Data Modeler integrates three powerful functionalities to validate a data model and avoid potential errors in the built model. In the previous posts, we saw how to validate a model using the check control utility and sample test data. In this post, we will discuss the third validation method provided by ERBuilder to validate a model by generating a web user interface.
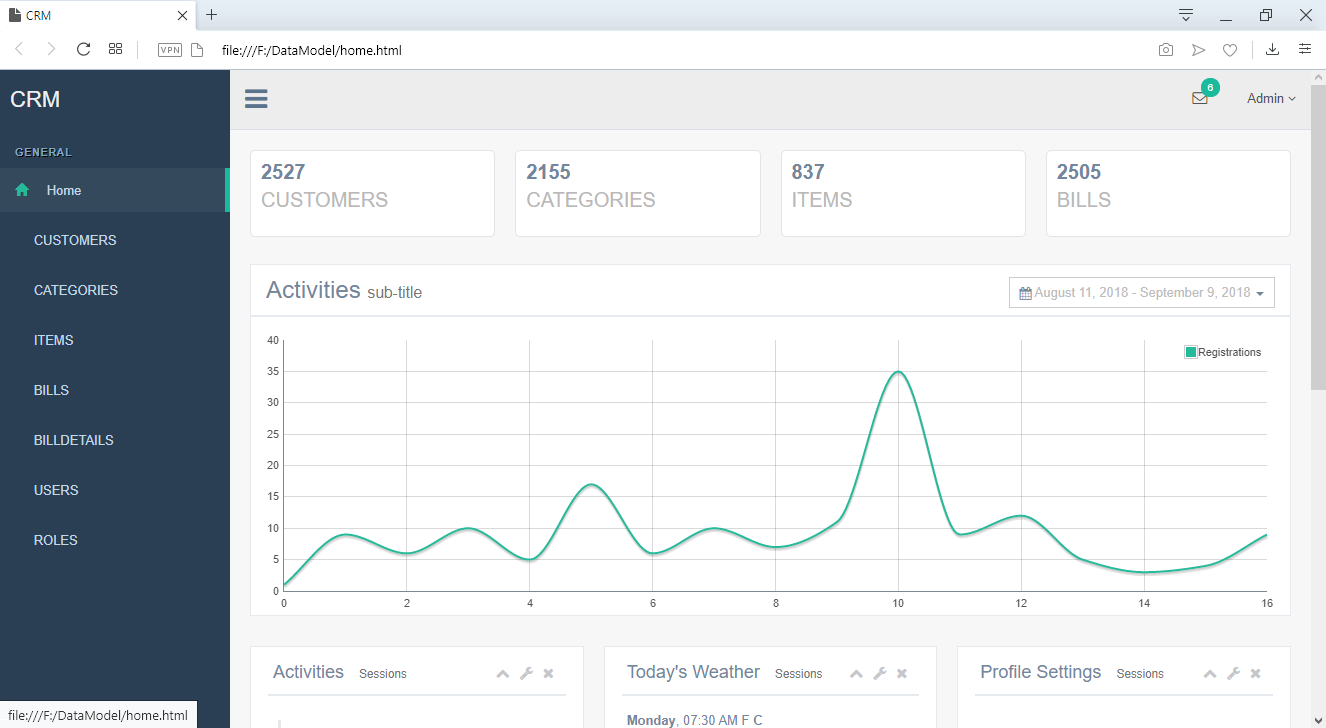
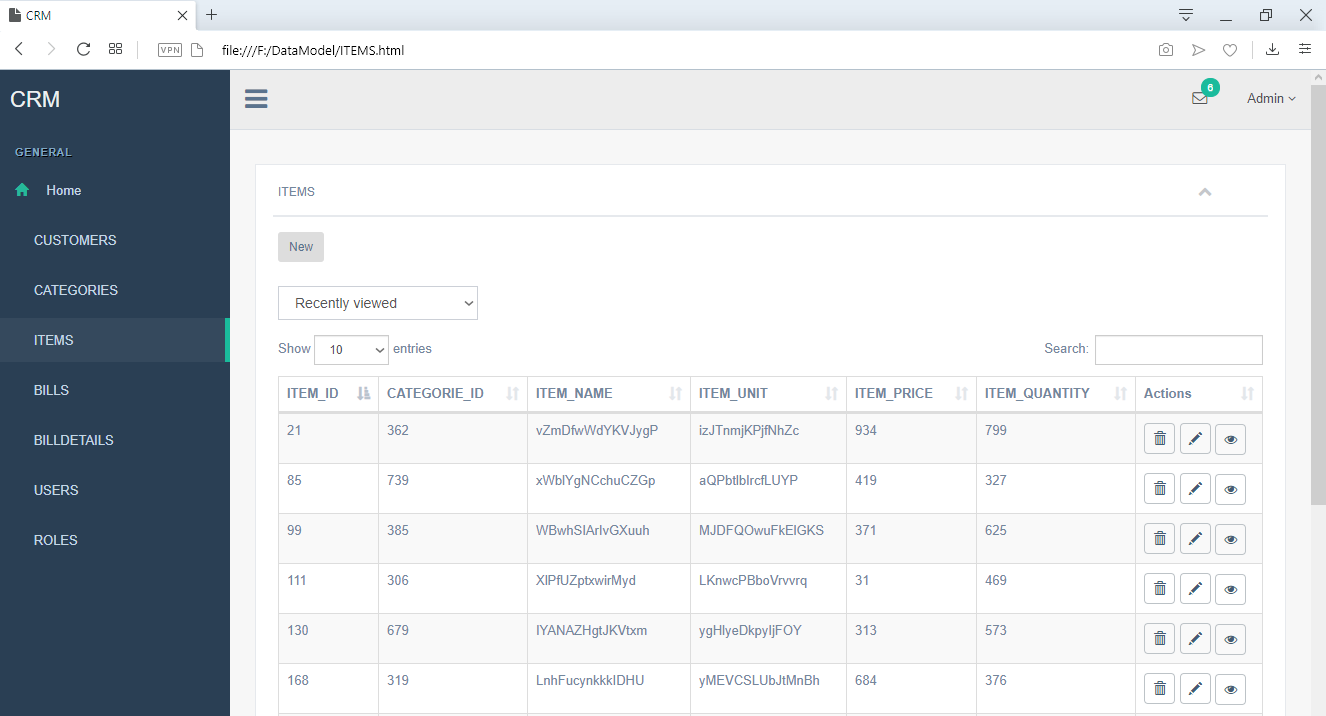
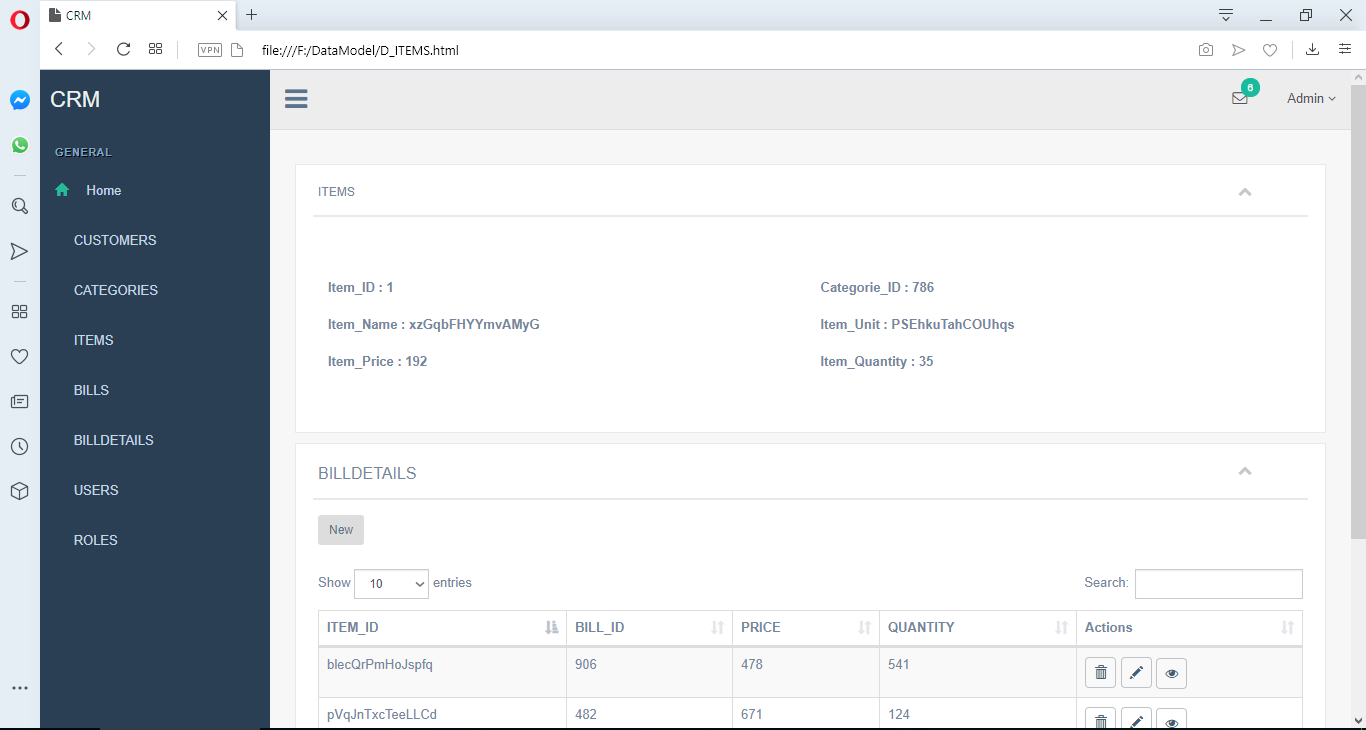
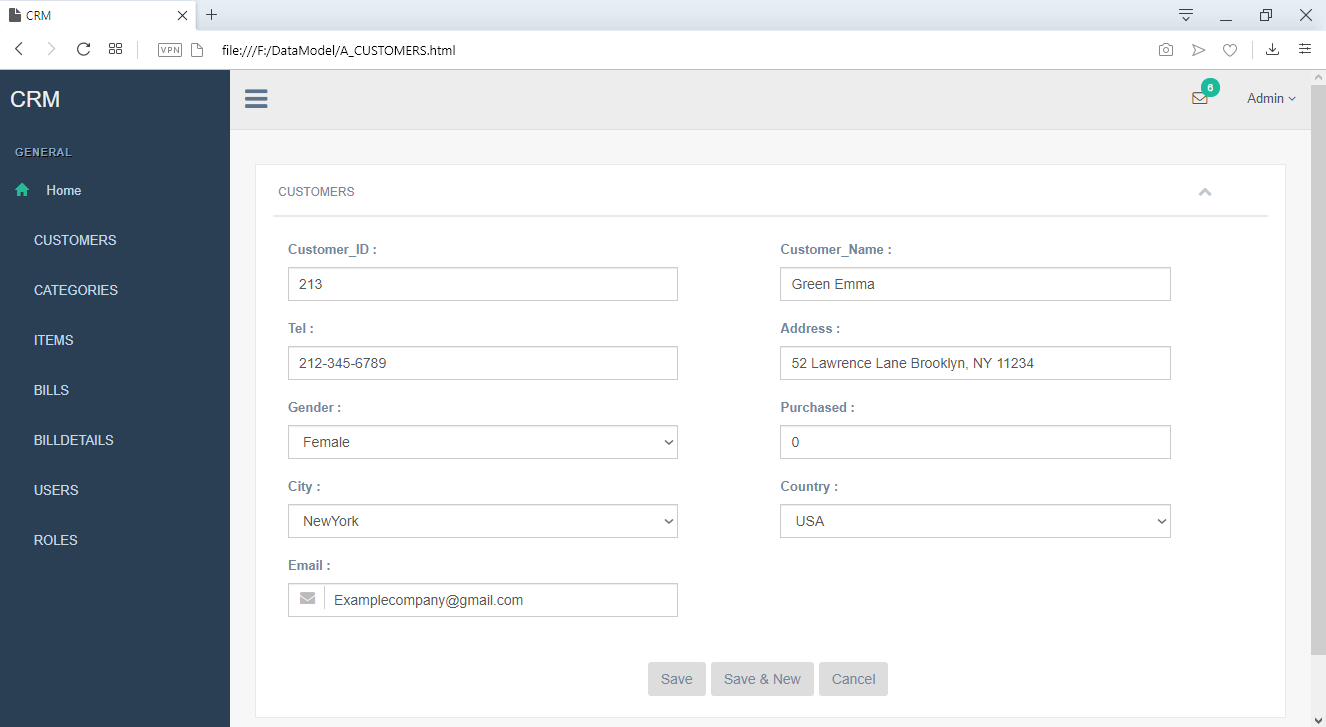
This tutorial will show you how creating an attractive web user interface for CRUD applications from a data model can be done in a few clicks. ERBuilder generates lists, details, insert, and update pages. Before generating the web interface, it is possible to specify the look and feel of each table fields (HTML component type, pick list values, min/max values, read-only, pattern …).
This allows data modelers to verify, through the generated user interface, whether the entities, fields, and relationships support the requirements.
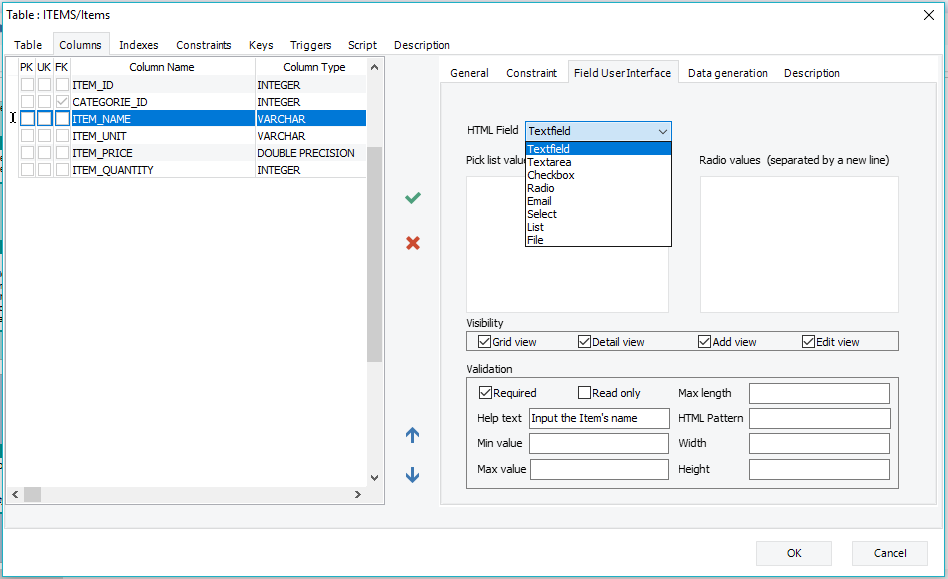
1- First, open the “Table” form by double-clicking on the table graphic. In this interface, go to the “Field User Interface” tab. In this tab, you need to specify the following:
- An HTML field definition for each column of your table. Here are the input types you can use:
Textfield Defines a one-line text input field. Textarea Defines a multi-line text input field. Checkbox Lets the user select ZERO OR MORE options from a limited number of choices. Radio Lets the user select ONLY ONE of a limited number of choices. Email Defines an input field that should contain an email address. Select Creates a drop-down list. Define the available options in the list value, separated by line breaks. List Defines an editable list. File Defines a file-select field and creates a “Browse” button for file uploads. Image Lets the user upload an image file. Date Defines an input field that should be a date. Datetime Defines an input field that should include the year, month, day, and time. Time Defines an input field that should be a time. Number Defines a numeric input field. -
Visibility options. You can set the view type in which this column will be displayed. The available options are:
– Grid view: Displays the column in the record list page.
– Detail view: Displays the column in the details page.
– Add view: Displays the column in the insert form page.
– Edit view: Displays the column in the update form page.
- Validation options. In this section, you can specify one or more validation options for each column, such as Required input or Read-only. Other options available are Max length, Help text, Min value, Max value, HTML Pattern, Width and Height of the input field.
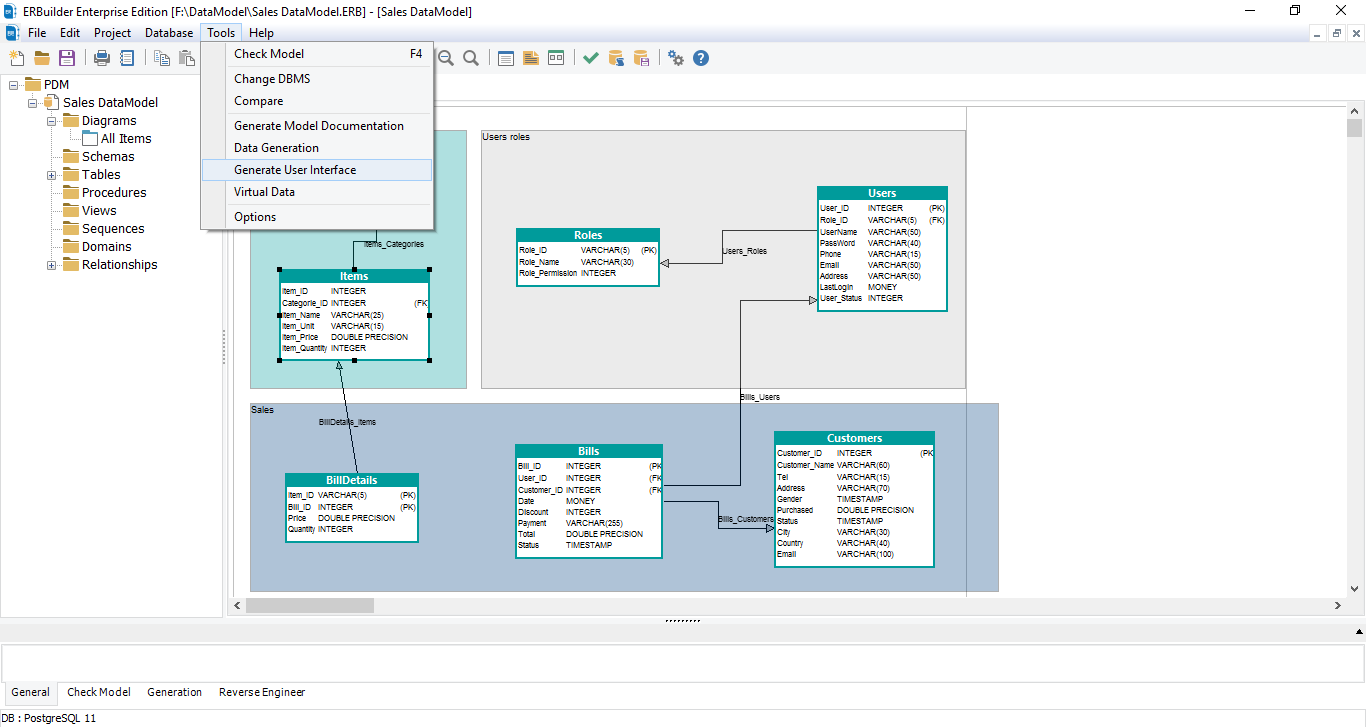
2- Navigate to “Tools” > “Generate User Interface”.
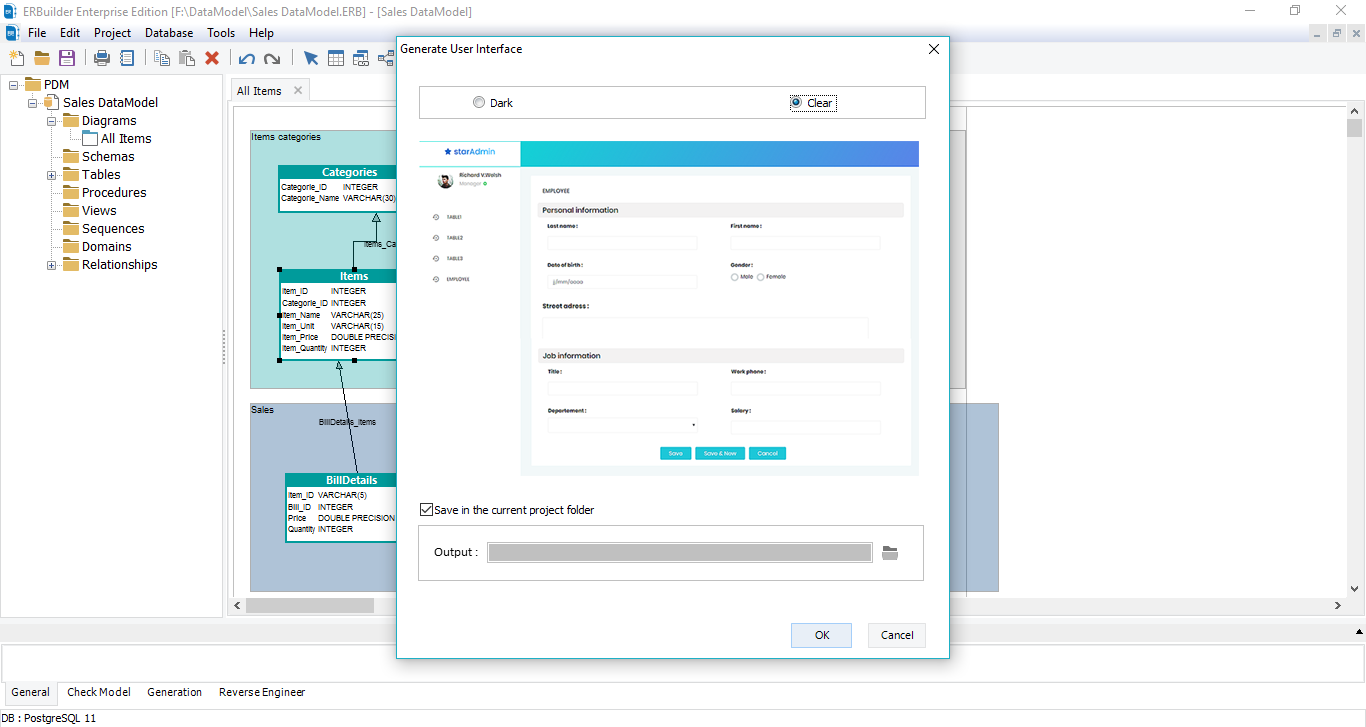
3- Once the “Generate User Interface” window is displayed, you can choose between a dark theme and a white theme. You can also specify the output folder. By default, the output folder will be your current project folder.
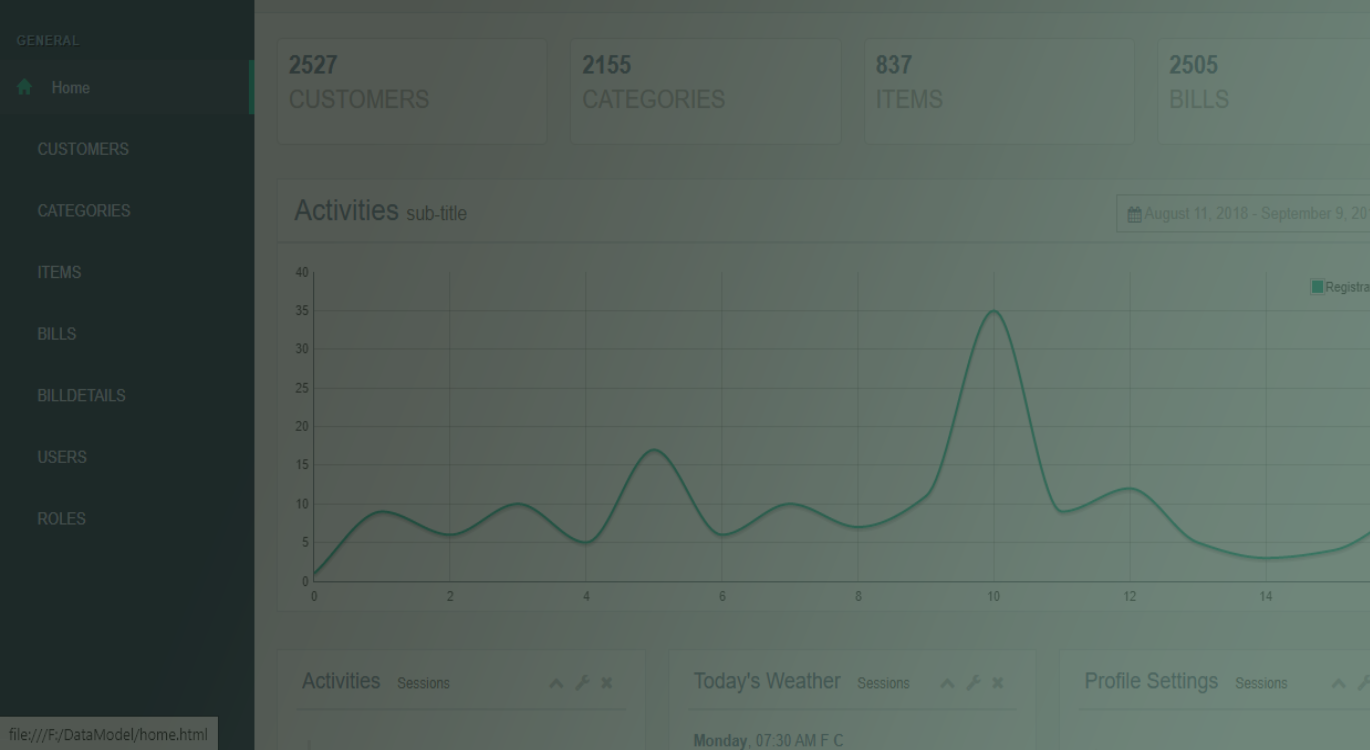
4- Open the generated user interface with a web browser.
ERBuilder is a GUI data modeling tool that allows you to visualize, design and model databases by using entity relationship diagrams and automatically generates the most popular SQL databases. Generate and share the data Model documentation with your team. Optimize your data model by using advanced features such as test data generation, schema compare and schema synchronization. Try now ERBuilder for 15 days FREE
Subscribe To Our Newsletter
Subscribe to our email newsletter today to receive updates of the latest news, tutorials and special offers!

