Publishing documentation on a web server
Jan 23rd, 2023,
Exporting HTML documentation from ERBuilder and publishing it on a web server is a great way to make your database model documentation easily accessible to your team members. There are several options to host and publish HTML documentation on a web server, including using popular web-server software such as Apache, Nginx, or Microsoft IIS.
You can install the software on a computer or a dedicated server and configure it to serve the HTML files to users.
In this blog post, we will go over the steps to export the HTML documentation from ERBuilder and then publish it on different popular web servers on a Windows machine. However, it's important to note that you can also publish your documentation on a Linux or mac OS machine if that better suits your needs. To achieve this, you simply need to install a web server such as Apache, or NGINX on the remote machine.
Step 1: Exporting the HTML documentation from ERBuilder
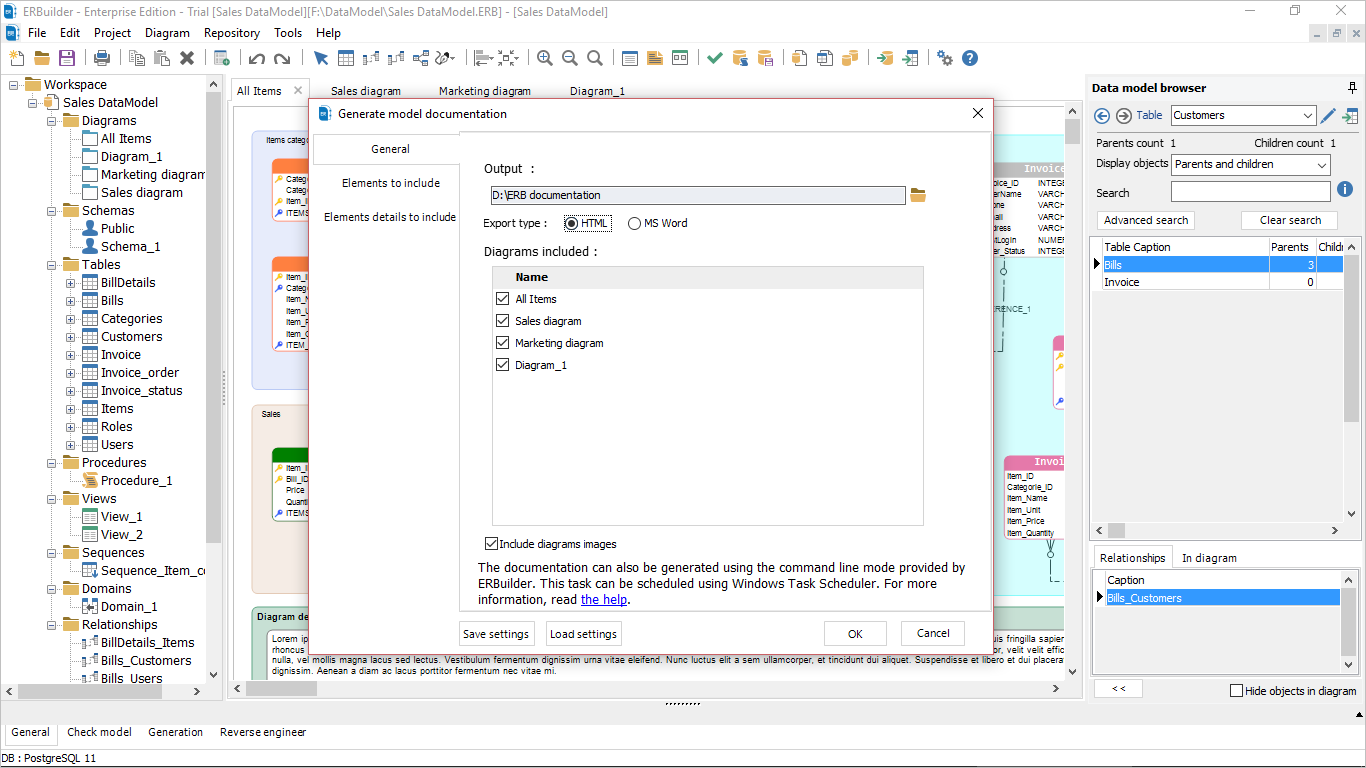
First, you need to export the HTML documentation from ERBuilder. To do so, open your ER diagram in ERBuilder (or create a new project by reverse-engineering your database) and then go to the "Tools" menu and select "Generate model documentation".
Select "HTML" as the export format and then choose a location to save the exported files. This will export your documentation as a set of HTML files.
Step 2: Publishing the HTML documentation on a web server
Once you have exported the HTML documentation, you can publish it on a web server. You can install a popular web server software such as Apache, Nginx, or Microsoft IIS on a computer or a dedicated server and configure it to serve the HTML files to your team members.
Publish on Microsoft IIS server
Publishing ERBuilder HTML documentation on an IIS (Internet Information Services) web server is relatively straightforward. Here are the steps you can follow to know how to install and configure the IIS web server on Microsoft Windows :
- Install IIS: First, you need to enable IIS on your Windows machine. You can do this by going to the Control Panel, then Programs and Features, then clicking Turn Windows features on or off, then checking the box for Internet Information Services, and finally clicking on OK to apply changes. For more details, you can read this step-by-step guide.
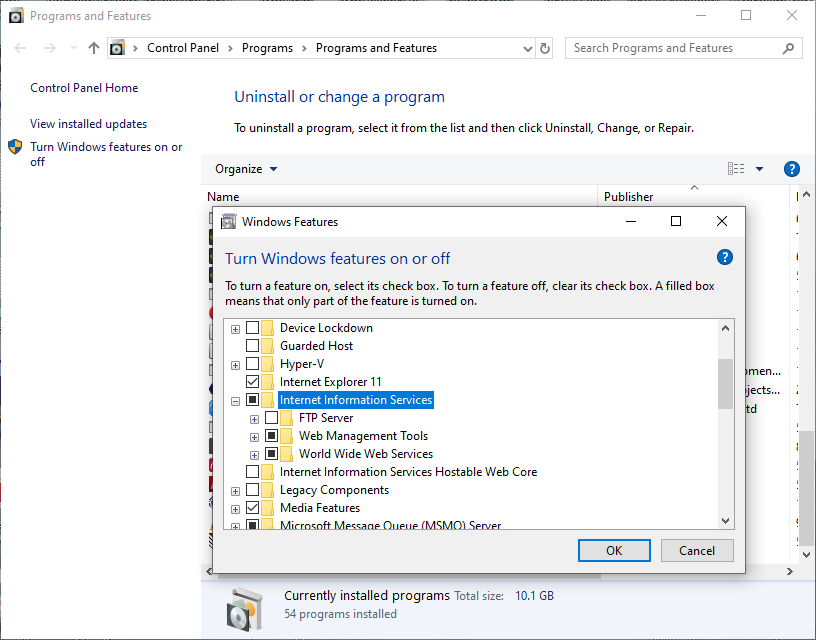
A restart of your computer may be required to apply the changes.
- To verify that IIS was successfully installed, enter "http://localhost" in your web browser. You will see the default IIS home page.
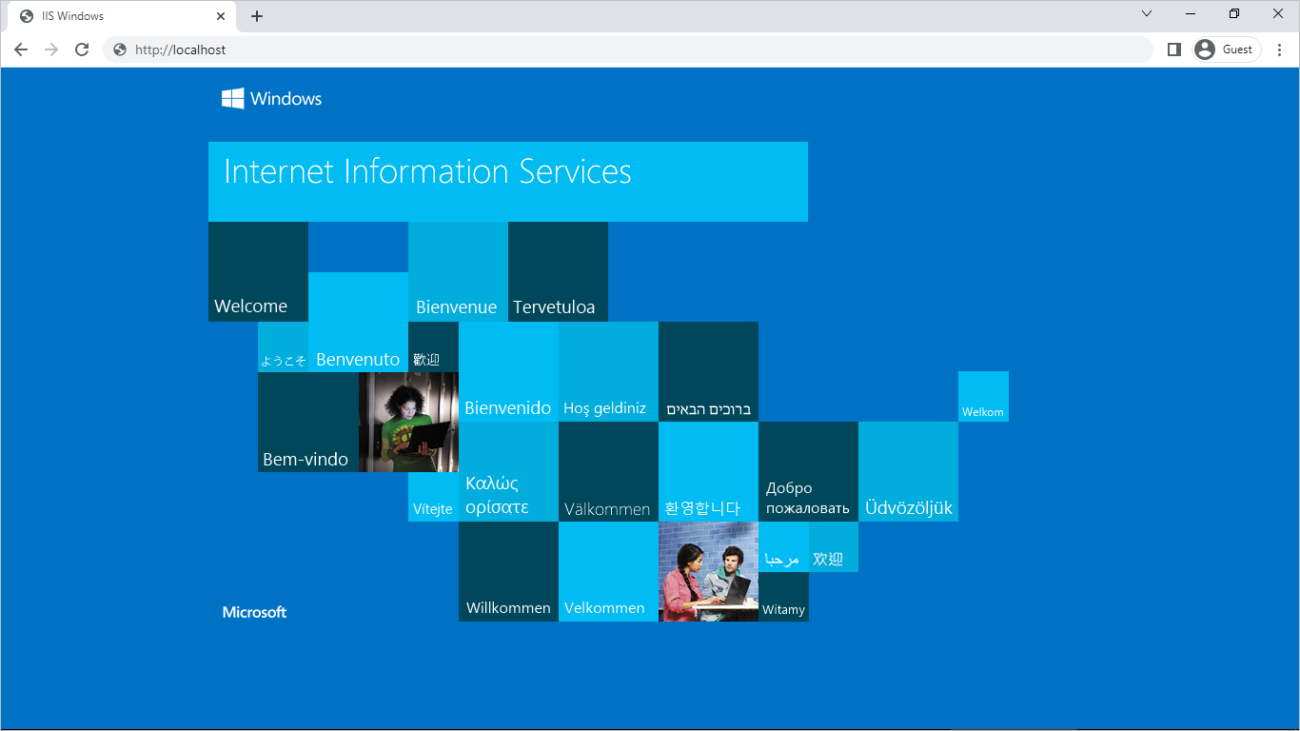
Microsoft IIS web server homepage
- Create a new website: Once IIS is installed, open the IIS Manager from “control panel-> System and Security-> Administrative Tools-> Internet Information Services (IIS) Manager” and click on "Add Website" in the right pane. Give your website a name, specify the physical path to the location where you have exported your HTML documentation from ERBuilder, set the "Binding" type to "http" or “https” and then set the port number. Note that for “https” you need to specify an SSL certificate.
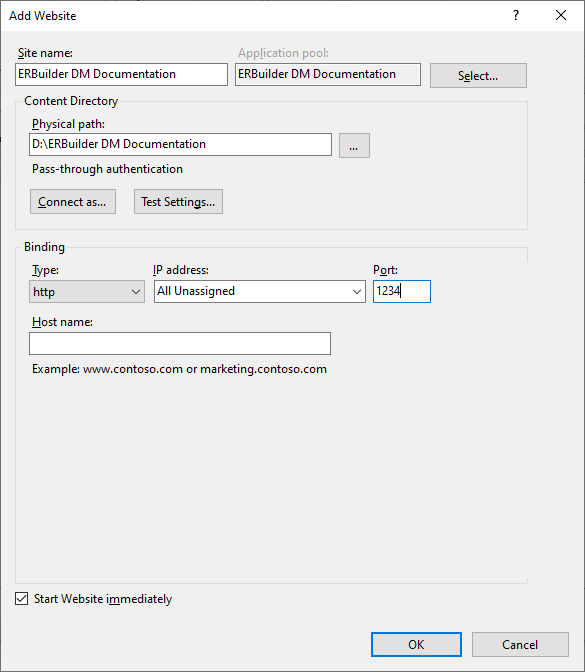
Add a new website on IIS web server
- If you don’t want to create a new website you can simply copy the contents of the exported documentation to the default hosting path of IIS or to a subfolder (the default path is generally C:\inetpub\wwwroot).
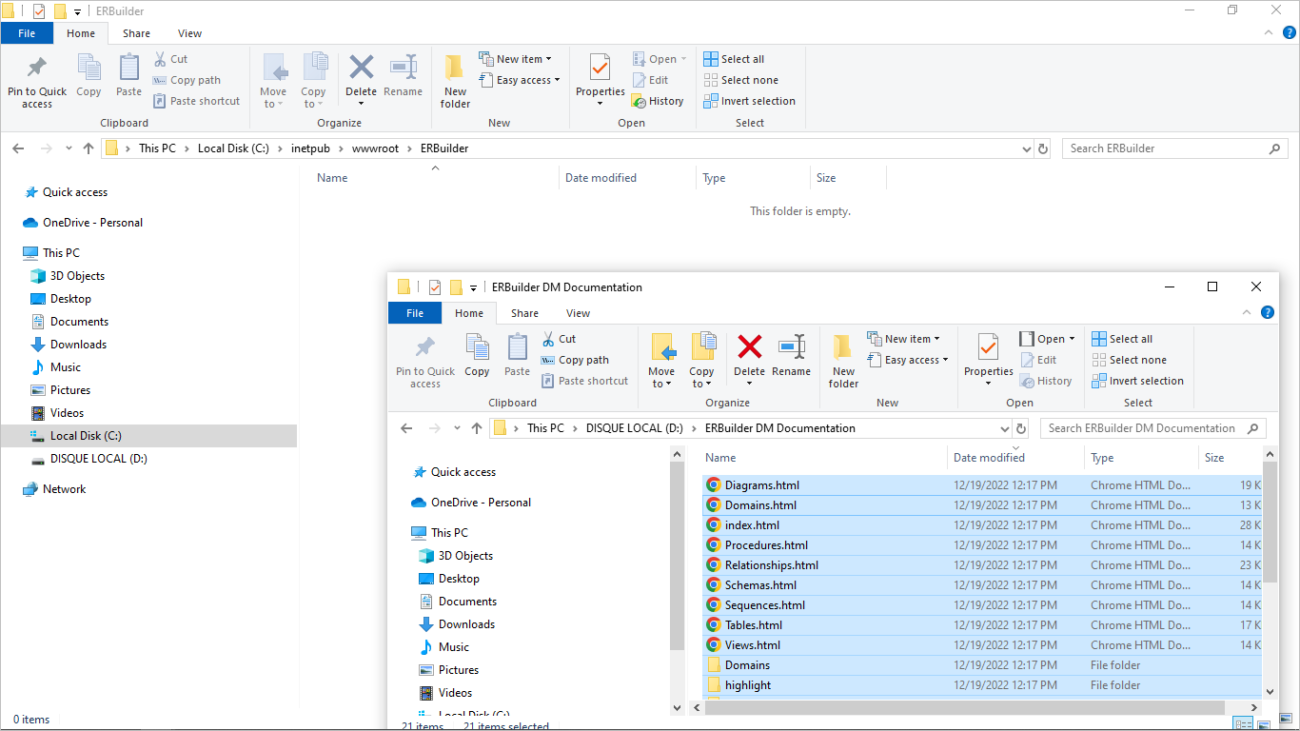
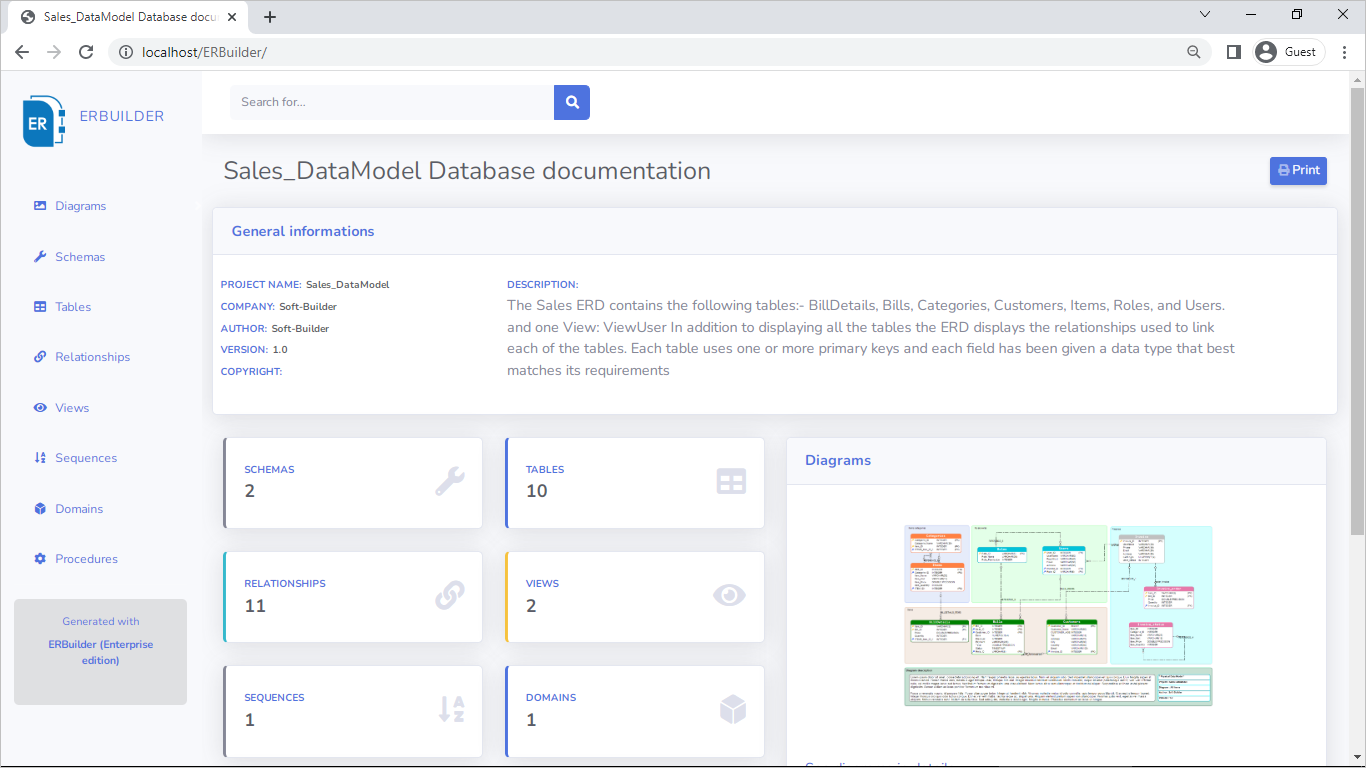
- Test the website: If you created a new website on IIS, in your web browser navigate to "http://localhost:port" to view your documentation (the port number is the one you just set before). If you copied the documentation content to the default path, navigate to "http://localhost" to test your documentation.
Publish on Apache server
Publishing ERBuilder HTML documentation on an Apache server is similar to publishing on other web servers. Here are the steps you can follow to install and run the Apache server on Windows (the steps are almost the same for Linux or macOS):
- Install Apache: You will need to install Apache on the server where you want to host your documentation. You can find the Apache installation files on the official Apache website (httpd.apache.org). For more details follow this guide to install Apache on Windows.
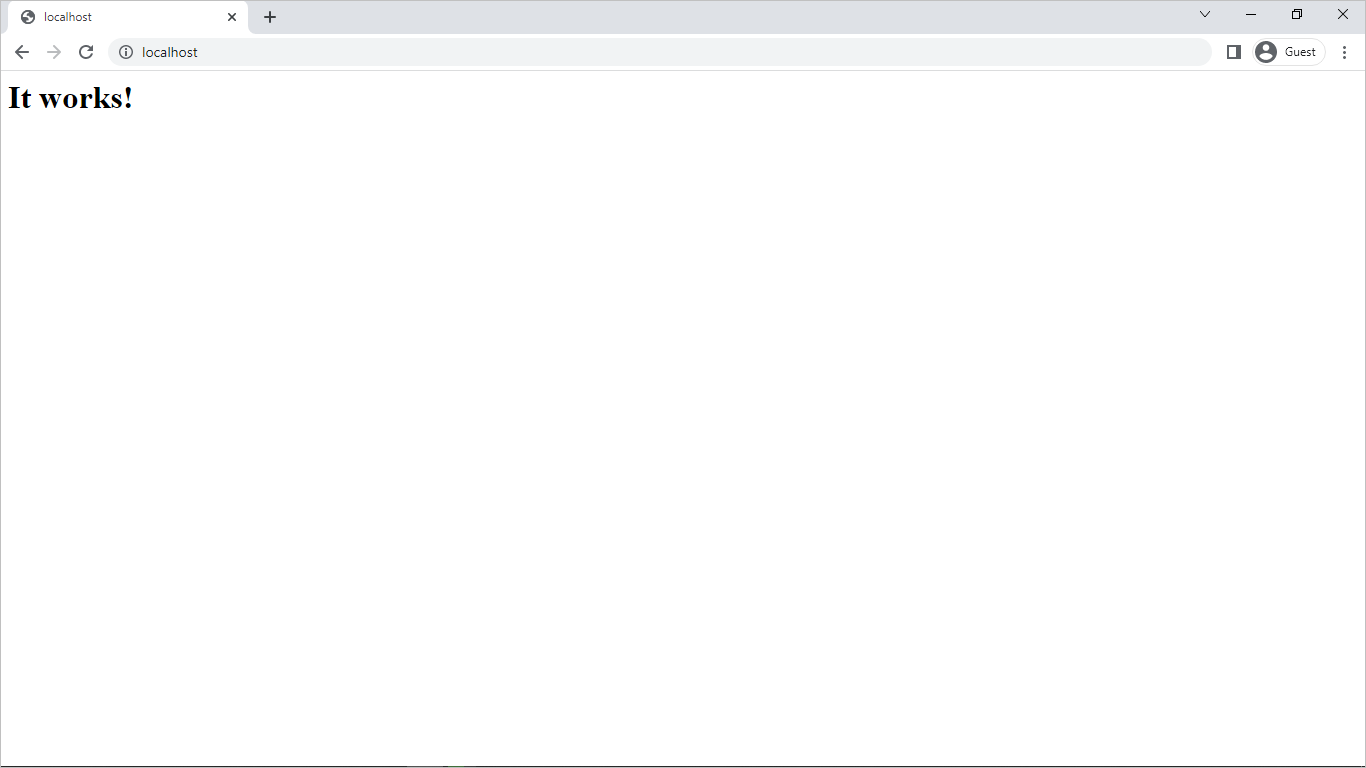
- Verify success of installation: After installation, navigate to the localhost address in your web browser, and if there are no conflicts with port 80, you will see a landing page that displays the message "It works!"
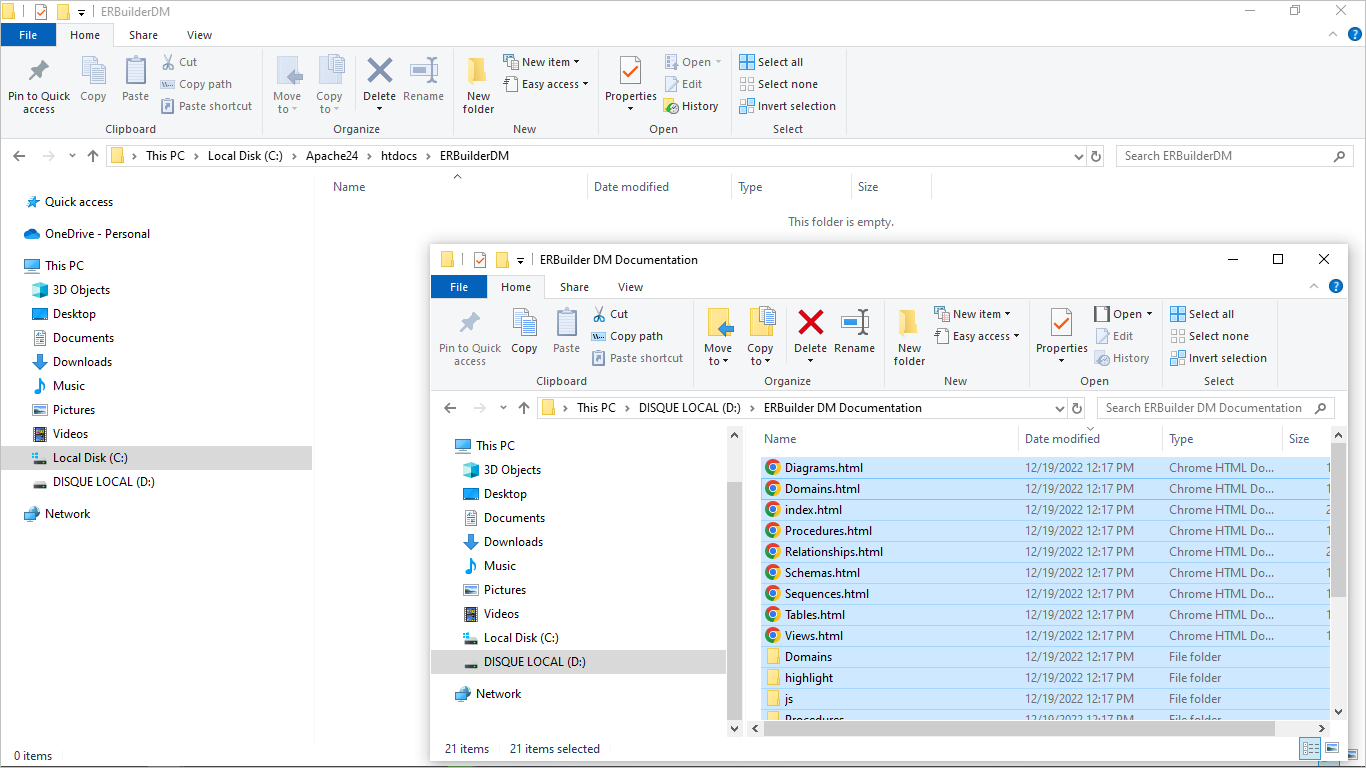
- Copy the documentation files: Copy the HTML documentation files generated previously by ERBuilder to the location specified in the Apache configuration file, typically the "C:\Apache24\htdocs" folder on Windows (we're using a subfolder named ERBuilderDM).
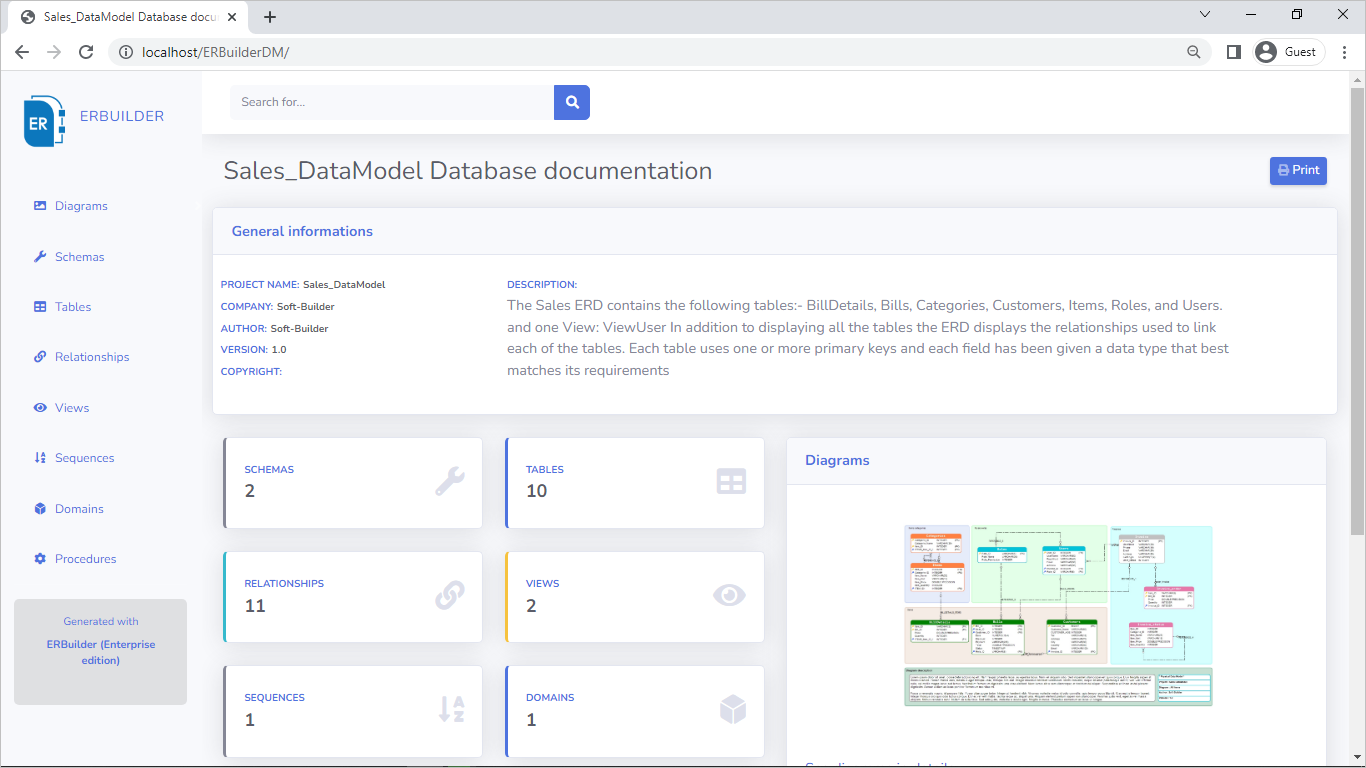
- Test the published documentation: In your web browser, navigate to "http://localhost/Name_of_your_sub_folder" to view your documentation.
Conclusion
In conclusion, exporting HTML documentation from ERBuilder and publishing it on a web server is a great way to make your documentation easily accessible to your team members. With this guide, you can have your documentation up and running in no time. It's important to remember to keep the server updated and secured to avoid any security breaches.
How ERBuilder Helps
ERBuilder is a GUI data modeling tool that allows you to visualize, design, and model databases by using entity relationship diagrams and automatically generates the most popular SQL databases. Generate and share the data Model documentation with your team. Optimize your data model by using advanced features such as test data generation, schema comparison, and schema synchronization.
Read more related posts
Subscribe To Our Newsletter
Subscribe to our email newsletter today to receive updates of the latest news, tutorials and special offers!


